
Light writes an invisible pattern, and electric fields turn it into a page
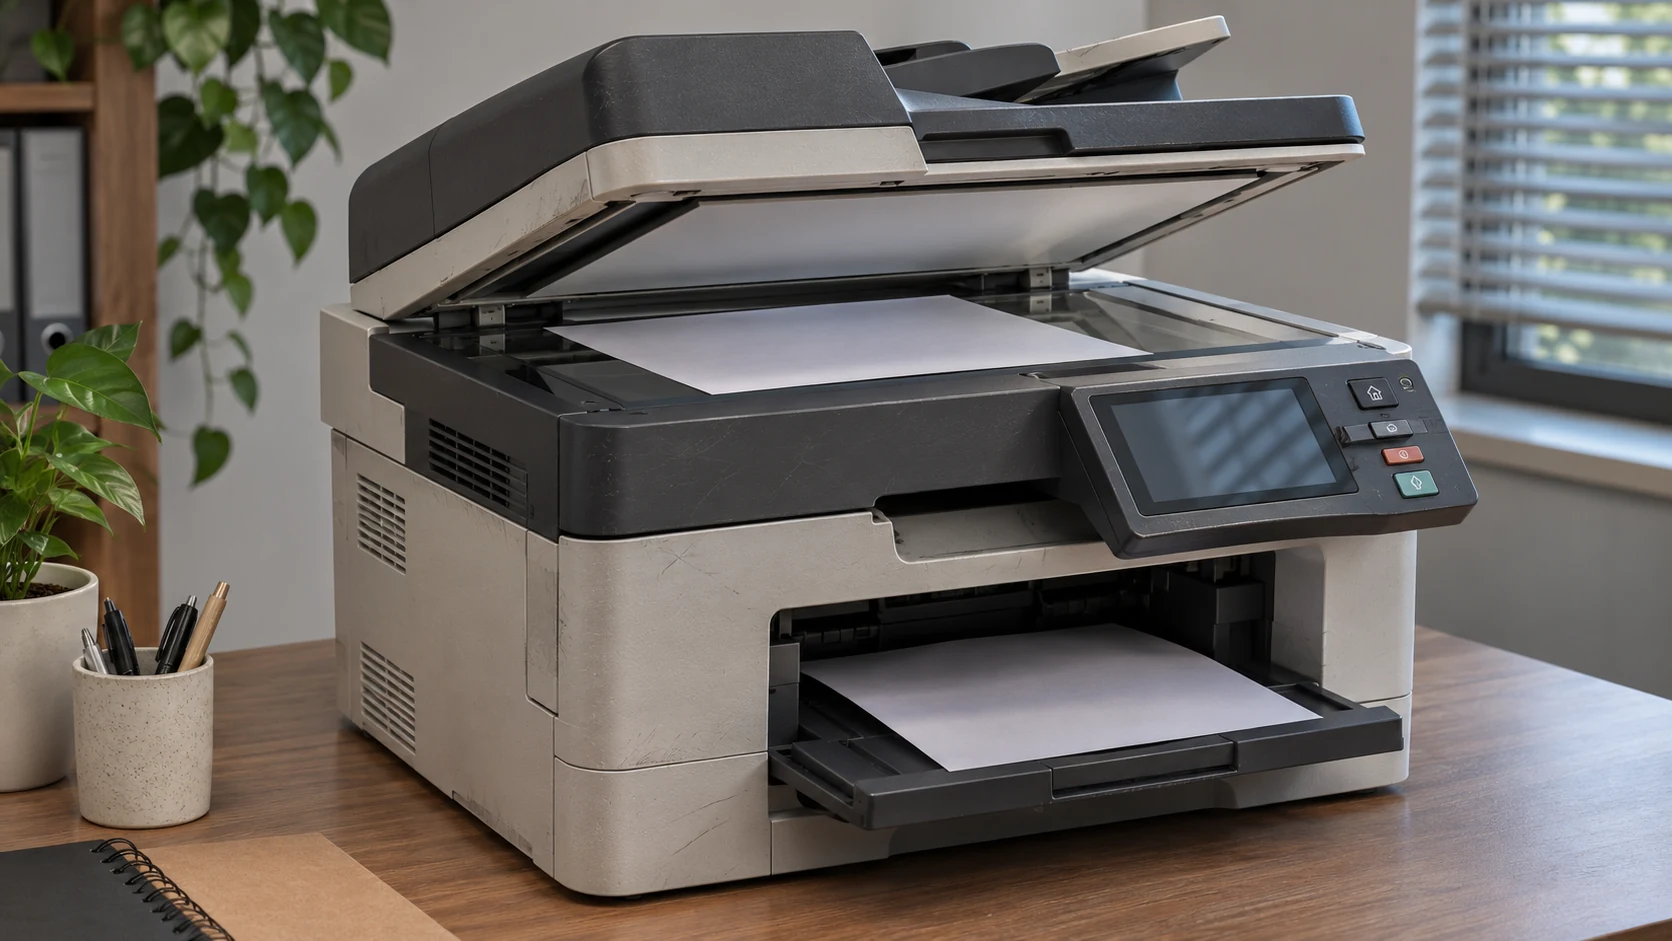
You put a page on the glass, press a button and receive another page. Inside the machine, however, the original’s ink never moves onto the new sheet. The copier has to read an image and manufacture a separate physical version of it.
Two jobs are hidden inside that familiar action: capturing the information and marking the paper. Separating them makes the mechanism much easier to follow.
Photocopying starts with light-sensitive electricity
The key surface is a photoreceptor, often built as a drum or belt. Its electrical behaviour changes when exposed to light. That makes it possible to create a patterned distribution of charge, known as a latent image.
The Society for Imaging Science and Technology’s overview explains that electrophotography first creates a toner image on this intermediate surface. The image is subsequently transferred. This is a major difference from a process that places liquid ink droplets directly onto the final sheet. [1]
“Latent” means the pattern is present but not yet a visible printed picture. At this stage, the important thing is an electrical arrangement. The paper has not yet received the marks that you will read.
Old optical copiers and modern digital copiers take different routes
In an analogue optical copier, light reflected from the original was directed through an optical system onto the photoreceptor. A digital copier separates the reading and writing stages: a sensor captures the page, and a laser or LED system exposes the photoreceptor according to digital information.
The textbook Graphic Design and Print Production Fundamentals describes this transition. The central electrophotographic process remains, but the original document no longer has to supply a direct optical image to the printing surface. [2]
That distinction answers a common puzzle. A modern copier can be closely related to a laser printer because both can use a digitally controlled electrophotographic output engine. The difference is where the page information enters the system.
Step one: prepare and expose the photoreceptor
The printing cycle begins by establishing a controlled electrical condition on the light-sensitive surface. Exposure changes that condition in selected places, creating the pattern required for development.
Xerox’s explanation of xerography describes the basic combination of electrostatic charging and a surface whose conductivity changes in light. This allows an optical image to become an electrical one. [3]
It is tempting to memorize a rule such as “the laser always shines on the white parts.” That is too broad. Systems use different charge polarities and development arrangements. The reliable general idea is selective exposure creating a charge pattern that the toner-development stage can use.
Think of preparing a reusable writing surface and then drawing on it invisibly with light. That analogy keeps the sequence clear, provided you remember that the “drawing” is a controlled electrical condition rather than a scratch or a burn.
Step two: develop the pattern with toner
Toner is the marking material used by this process. Electric fields and the charge on the toner help arrange it into a visible image on the photoreceptor. Development is the stage that makes the previously invisible pattern visible. [1]
The machine is therefore doing more than scattering black dust and hoping it lands on the right letters. It controls both the imaging surface and the material interacting with it.
If the underlying charge behaviour sounds familiar, Barnakle’s explanation of why static electricity builds up provides the everyday starting point. A copier turns electrical effects into a repeatable manufacturing process.
Step three: transfer the image to paper
The toner image must leave the imaging surface and arrive on the sheet. The transfer stage uses an electrical arrangement to move the particles. In some systems an intermediate transfer component is involved, so not every copier has exactly the same physical route.
FUJIFILM’s account groups the core printing sequence into charging, exposure, development, transfer and fusing. These names describe functions; they should not be read as a promise that every machine contains an identical set of parts in an identical layout. [4]
A useful way to track the journey is to ask what currently carries the image: first an electrical pattern on the photoreceptor, then visible toner on an imaging surface, and eventually toner on paper.
Step four: make the marks stay put
Freshly transferred dry toner needs fixing. In the familiar office process, a fuser applies heat and pressure so that the toner bonds to the paper. Xerox describes this fixing stage as the step that turns the transferred image into a usable copy. [3]
This explains why a copy can emerge warm. The warmth is associated with fixing the image; it is not evidence that a laser burned each letter into the sheet. Reading the page, writing the latent image and fixing the toner are different operations.
Afterwards, the reusable imaging surface must be prepared for another cycle. RIT’s Digital Print Preservation Portal describes cleaning residual toner and removing remaining charge as part of making that reuse possible. [5]
| Stage | What represents the word? | What has not happened yet? |
|---|---|---|
| Digital scanning | Captured image information | No new printed word exists |
| Exposure | A charge pattern on a light-sensitive surface | The pattern has not been developed with toner |
| Development | A visible toner image | The final sheet still needs the image |
| Transfer | Toner positioned on the sheet | The particles still need fixing |
| Fusing | A fixed mark on paper | The imaging system must reset for reuse |
How colour copying adds another layer of control
Colour electrophotographic printing commonly uses cyan, magenta, yellow and black toner. RIT describes separate impressions for these four colour components. Their arrangement and combination produce the finished image. Dry toner contains colourant within polymer particles, rather than simply being loose pigment without a binder. [5]
Imagine printing four versions of a small target, one for each component. They must be positioned correctly relative to one another. The comparison helps explain why a colour image requires more than swapping a black powder container for a multicoloured one.
Why digital copies are processed images
A digital copier does not merely remember “black here, white there.” Its processing can affect the appearance of text, edges and tones. FUJIFILM’s account of digital smoothing describes techniques for reducing visible jaggedness and adjusting outlines.
The same source distinguishes edge enhancement from changes to sharpness. These are operations on the reproduced image, so “a copy of the page” need not mean an untouched numerical record of every captured value. [6]
A useful reading habit is to separate the original, the captured image and the output. A photograph of text, a scan of that text and a toner print are related representations. Each stage has its own limitations.
What the document feeder contributes
The scanner’s job is separate from the print engine’s job. FUJIFILM describes one-pass duplex scanning technology for multifunction devices, allowing document handling to be designed around efficient capture of both sides. [7]
“Duplex” therefore needs context. Scanning both sides is an input capability; printing both sides is an output capability. A machine may coordinate both, but the two actions occur at different parts of the workflow.
Frequently asked questions
Does a photocopier use ink?
The electrophotographic office process described here uses toner. Multifunction inkjet machines can also copy documents, but their output mechanism is different. See how inkjet printers work for that route.
Does the laser touch or burn the paper?
In the digital electrophotographic process, the laser or LED system exposes the photoreceptor. Toner is later transferred and fixed to paper. These stages should not be collapsed into a laser engraving the page. [2]
Why does a copy feel warm?
Heat is used in the fusing stage of the familiar dry-toner process. The page’s warmth reflects that fixing operation, rather than the brightness of the scanning lamp. [3]
Is a copier the same as a scanner?
A scanner captures information. A copier also produces another physical document. A modern multifunction machine can combine scanning and printing in one enclosure while keeping those functions distinct.
Keep exploring
- How Do Inkjet Printers Work?
- Why Does Static Electricity Build Up?
- How Transistors Switch and Amplify Electronic Signals
Sources and further reading
Reference review: November 7, 2026. Abstract-only sources are labelled in the references.
- Society for Imaging Science and Technology — Electrophotography Overview (Xerox authors)
- Medeiros — Graphic Design and Print Production Fundamentals, 6.3 Electrophotography
- Xerox — The Story of Xerography (PDF)
- FUJIFILM Business Innovation — Mechanism of Color Copying: Printing
- Rochester Institute of Technology, Image Permanence Institute — Electrophotographic printing
- FUJIFILM Business Innovation — Digital Smoothing Technology
- FUJIFILM Business Innovation — Compact and Quiet Document Scanning Technology
Keep exploring.
One remarkable idea at a time—nature, science, history and beyond.
Last updated November 8, 2026.

Barnakle Editorial Team
Barnakle Editorial Team is the collective byline used for Barnakle’s editorial articles. The contributor profile explains the team identity and links to the publication’s editorial policies.
More from the editorial team →